Build and Play Games on a 1920s-Style Mechanical TV: A Retro Gaming Guide
Introduction
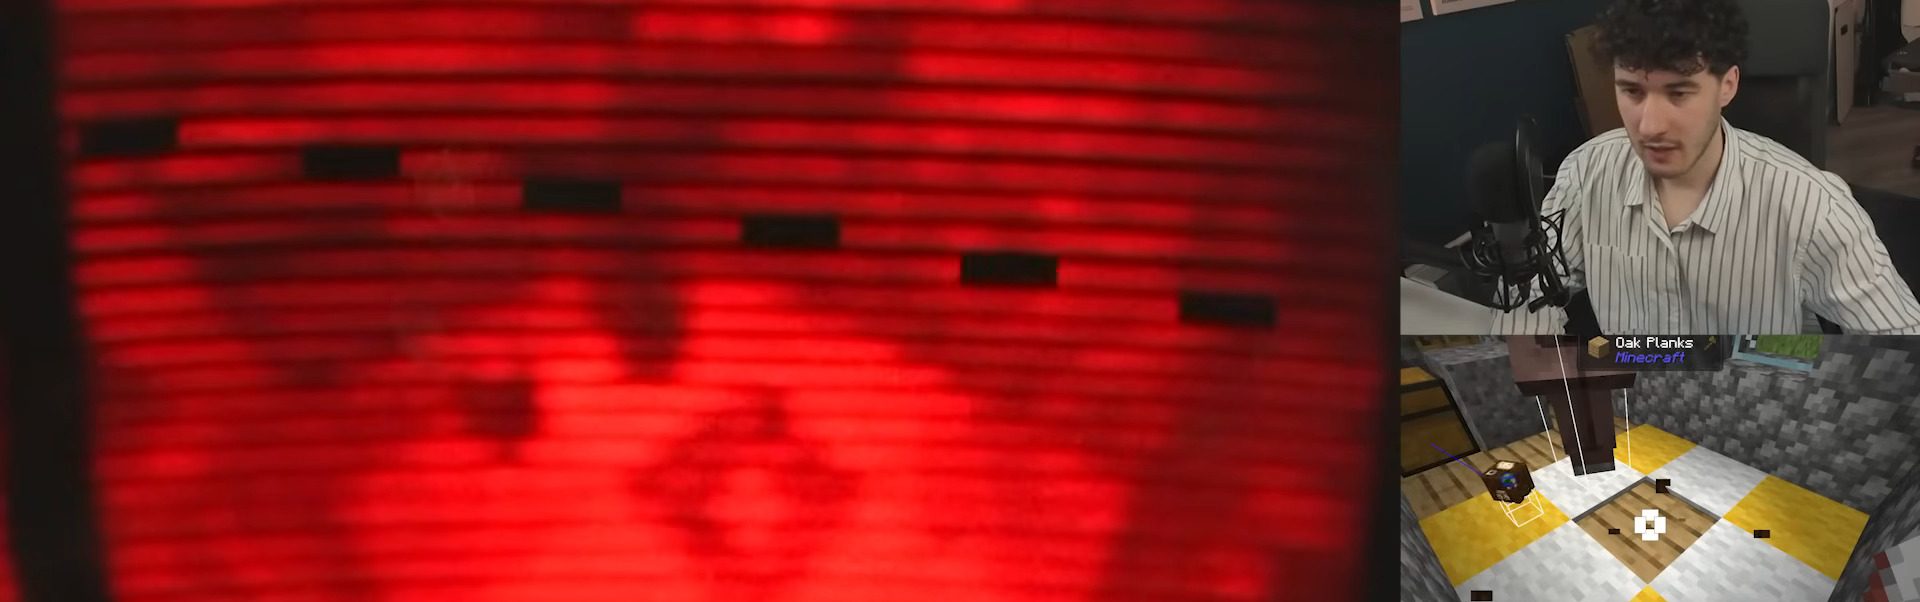
Forget those mainstream CRTs—if you want a truly retro and mesmerizing gaming experience, why not try a mechanical television? Before cathode-ray tubes dominated, pioneers like John Logie Baird used spinning disks to transmit moving images. Today, you can build a kit based on Baird’s 1925 televisor and even play games like Minecraft on it. In this guide, we’ll walk you through the process, inspired by YouTuber smill, who turned a reproduction televisor into a 32-line monochrome game display. Get ready to see pixels in their most primitive form!
What You Need
- A Nipkow disk mechanical TV kit (e.g., the “Televisor” reproduction kit – 32 holes, 32-line resolution)
- A computer (any modern PC with video output)
- The game you want to play (e.g., Minecraft – but any low-resolution game works)
- The video2NBTV software (converts standard video to Narrow Band Television format)
- A video cable (typically composite or HDMI-to-composite converter if needed)
- A power supply for the kit (usually 12V DC)
- Small screwdrivers, a multimeter (optional for adjustments)
- A dark room (the image is dim and monochrome)
Step-by-Step Instructions
Step 1: Assemble the Mechanical TV Kit
Start by unboxing your Televisor kit. Follow the manufacturer’s instructions carefully to:
- Mount the Nipkow disk onto the motor shaft. Ensure it spins smoothly and without wobble.
- Connect the LED (brightness source) and photodetector? Actually, this kit uses a single LED behind the disk; the brightness modulates as the disk spins.
- Wire the electronics: amplifier, synch circuits, and power input. Double-check polarity – mistakes can fry components.
- Attach the lens or screen if provided (usually a ground glass plate to see the image).
Important: Ensure the disk rotates at the correct speed (approximately 15 frames per second for 32 lines). Some kits have a potentiometer for speed adjustment.
Step 2: Prepare the Computer’s Video Output
Your computer outputs standard video signals (e.g., HDMI, DisplayPort). The Televisor expects a composite video signal that’s already converted to NBTV format. You have two options:
- Use a composite video output from your computer (rare on modern PCs) or a USB video capture card that outputs composite.
- If you have only digital output, use an HDMI-to-composite converter.
Connect the video output to your computer’s graphics card or dedicated video source. Launch video2NBTV on your computer – this software will re-encode the game’s video stream into the narrow bandwidth required.
Step 3: Configure video2NBTV
Open video2NBTV. In the settings, choose:
- Output resolution: 32 lines (match the disk holes).
- Frame rate: 15 fps (the kit’s typical speed – Baird’s original ran at 5 fps, but 15 is smoother).
- Color mode: Monochrome (unless you have a color modification).
- Input source: Select your game’s window or capture device.
The software will show a preview. Tweak brightness and contrast to avoid washed-out images. The NBTV signal will be output as a modulated audio-like waveform via your computer’s audio jack (yes, video over audio!). Connect a 3.5mm audio cable from your PC to the televisor’s input.

Step 4: Connect the Televisor to the Signal
Plug the audio cable into the televisor’s input (marked “video in” or similar). Power up the televisor. You should see a faint, flickering image on the screen. Adjust the motor speed with the potentiometer until the image stabilizes – the horizontal lines should align and the picture shouldn’t scroll.
Pro tip: Use a multimeter to measure the motor voltage if needed. A stroboscope app on your phone can help verify disk speed.
Step 5: Launch Your Game and Fine-Tune
Start your game (e.g., Minecraft) and set the display to a low resolution (e.g., 640×480 or lower). In video2NBTV, select the game window as input. The game will be downscaled to 32 lines – expect blocky, grainy imagery. Adjust:
- Focus: move the screen or lens slightly until the scan lines are sharp.
- Brightness: turn down in-game or in video2NBTV to avoid blooming.
- Sync: if the image tears, adjust the frame rate in video2NBTV to match the disk’s actual speed.
Now play! Expect extreme eye strain – take breaks every 10 minutes.
Step 6: Color Upgrade (Optional)
Want to move beyond monochrome? You can 3D print your own Nipkow disk with color filters (red, green, blue) and add multiple LEDs. This is advanced; replicating the setup described in smill’s video requires custom electronics. For now, enjoy the black-and-white authenticity.
Tips for Success
- Safety first: The disk spins at high speed (up to 900 rpm). Keep fingers away and enclose the disk in a transparent cover.
- Ambient light: Play in near-total darkness – the image is very dim.
- Patience: Tuning a mechanical TV takes time. Don’t expect plug-and-play.
- Game choice: Minecraft works because its low-pixel art translates well. Avoid fast-moving games – the 15 fps refresh will blur everything.
- Community resources: Check forums like NBTV enthusiasts or r/retrotech for help with video2NBTV settings.
- Future mods: A 4K Nipkow disk? Not practical – but someone will try. Stick to 32 lines for now.
Gaming on a mechanical TV is the ultimate hipster retro challenge. It’s not about high resolution – it’s about connecting with the origins of television. Enjoy the hypnotic spin and the fuzzy glow of history.