Your Step-by-Step Guide to Installing and Using gThumb 4.0 Alpha
Introduction
gThumb, the open-source image viewer and organizer, has been thoroughly modernized with a complete rewrite in Vala and a port to GTK4/libadwaita. The result is a barely recognizable interface that brings fresh features like WEBP and PNG animation support, the ability to export images in the JXL format, and a practical censor filter for pixelating or blurring parts of an image. This guide walks you through installing the alpha build of gThumb 4.0 and exploring its new capabilities.

What You Need
- A Linux distribution (Ubuntu 22.04 or newer recommended)
- Terminal access
- Internet connection
- Optional: Flatpak installed (
sudo apt install flatpakon Debian/Ubuntu) - If building from source: Git, Meson, Ninja, Vala compiler, GTK4 and libadwaita development headers
Step 1: Prepare Your System
Before diving in, update your package manager to ensure you have the latest dependencies. Open a terminal and run:
sudo apt update && sudo apt upgrade -yIf your system doesn't have Flatpak, install it now:
sudo apt install flatpak -yStep 2: Install gThumb 4.0 Alpha via Flatpak (Recommended)
The easiest way to test the alpha release is through Flathub. First, add the Flathub repository if you haven't already:
flatpak remote-add --if-not-exists flathub https://flathub.org/repo/flathub.flatpakrepoInstall the gThumb alpha build:
flatpak install flathub org.gnome.gthumb//master -yOnce installed, launch it from your application menu or run:
flatpak run org.gnome.gthumbYou'll be greeted by the redesigned interface – a dramatic departure from the old GTK3 version.
Step 3: Alternative – Build from Source
If you prefer to compile the latest code, clone the repository:
git clone https://gitlab.gnome.org/GNOME/gthumb.git
cd gthumb
Install the required dependencies (example for Ubuntu):
sudo apt install meson ninja-build valac libgtk-4-dev libadwaita-1-dev libgstreamer-plugins-base1.0-dev libgstreamer1.0-dev libheif-dev libjxl-dev libpng-dev libwebp-devBuild and install:
meson setup _build
ninja -C _build
sudo ninja -C _build install
Launch gThumb from the terminal with gthumb.
Step 4: Explore the New User Interface
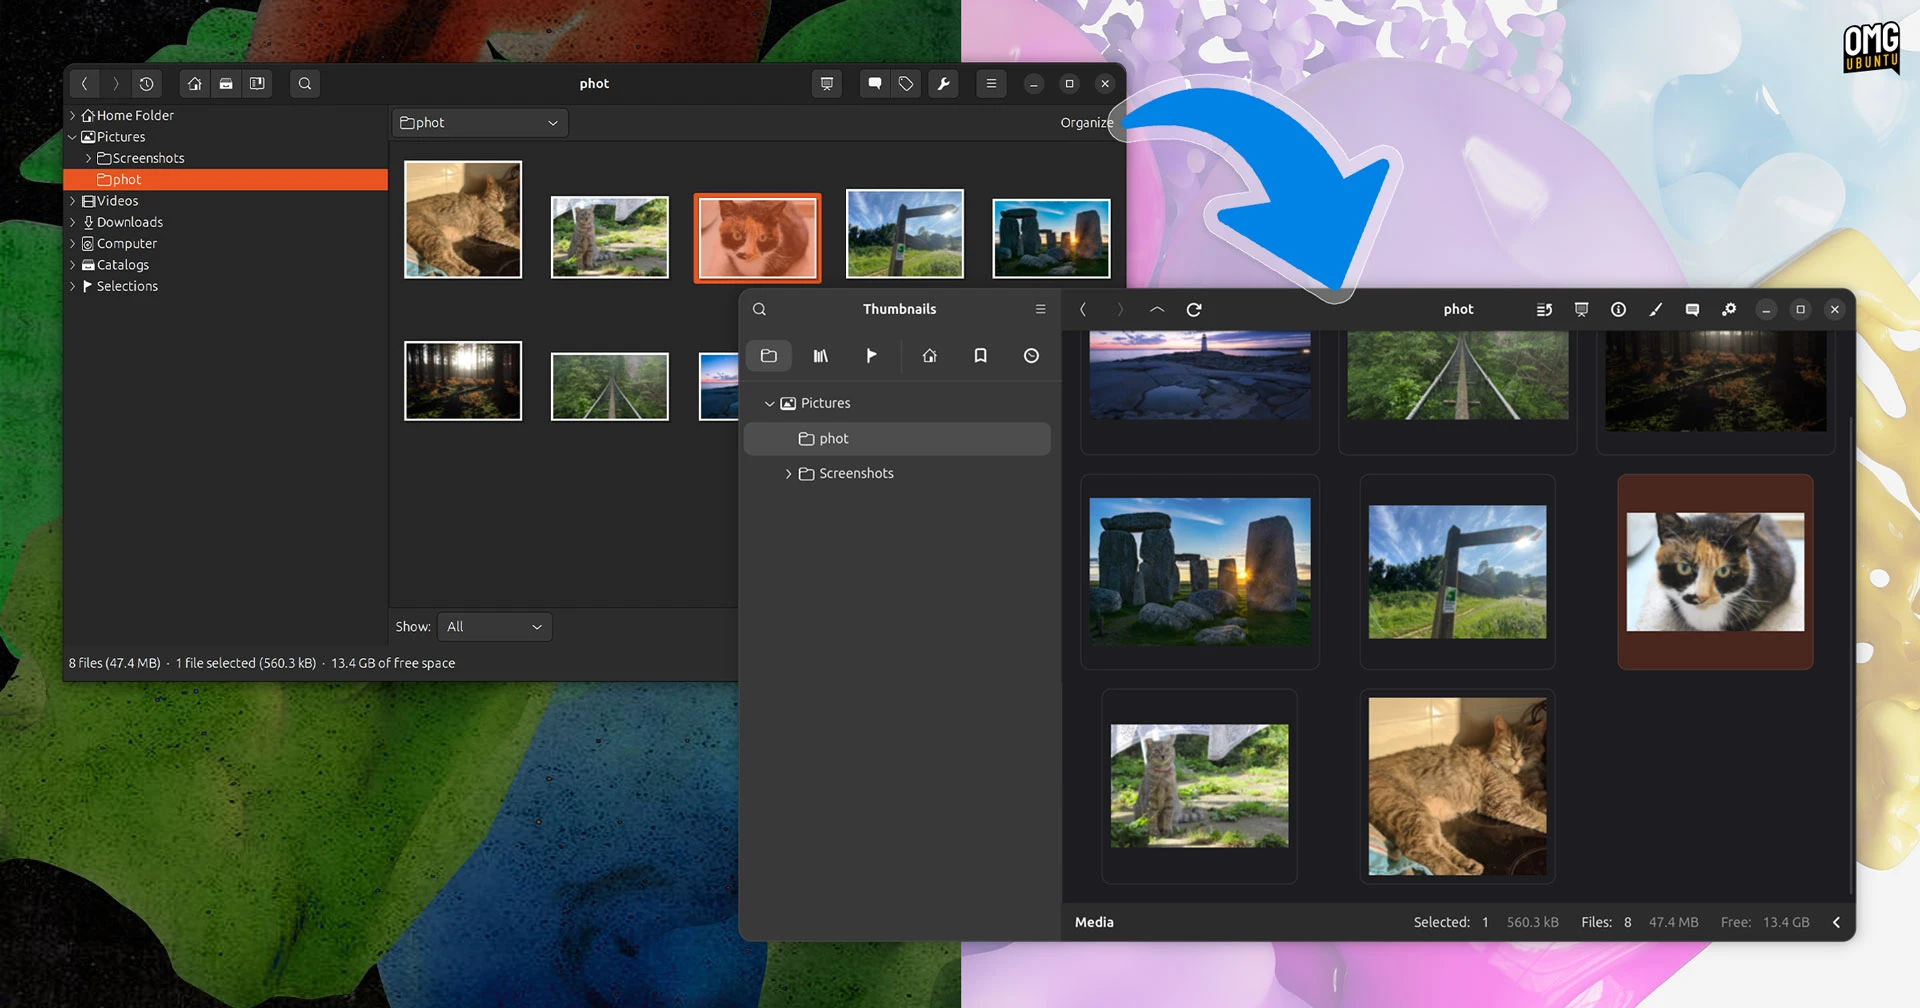
The GTK4/libadwaita port brings a sleek, modern look. The toolbar, sidebar, and dialogs are completely redesigned. Take a moment to browse your image library – the thumbnails and layout are now more fluid. Key visual changes include adaptive spacing, rounded corners, and a cleaner information panel.
Step 5: Test the New Features
WEBP and PNG Animations
Navigate to a folder containing animated WEBP or PNG files. Open one – gThumb will now play the animation seamlessly. You can also export animations to other formats.
Export Images in JXL Format
Select any image and go to File → Export. In the format dropdown, choose JPEG XL (JXL). This modern format offers excellent compression and high quality.
Use the Censor Filter
Open an image and click Edit → Censor. Drag to select an area you want to hide. Choose between Pixelate or Blur from the options. Apply the effect and save the result.
Step 6: Provide Feedback (Optional)
Since this is an alpha release, bugs may occur. If you encounter issues, report them at the GNOME GitLab. Your feedback helps shape the final stable version.
Tips and Conclusion
- Back up your images before testing – although gThumb is stable, alpha software can occasionally cause data loss in rare cases.
- Run in a virtual machine if you're hesitant to install on your main system.
- Keep an eye on updates – the alpha is actively developed; check Flathub or the repository regularly for new builds.
- Explore the new interface thoroughly – many actions now have keyboard shortcuts that differ from the old version.
- Share your experience on forums or social media to help the community.
The gThumb 4.0 alpha marks a significant step forward for this long-standing image tool. With its modern GTK4 interface, support for WEBP and PNG animations, JXL export, and the practical censor filter, it's worth testing even in its early stage. Follow the steps above to get started, and enjoy exploring the new gThumb.